Got a yard or so of fabric (for a kid-size skirt), a sewing machine and about an hour? If so, you could make this!
You will need: fabric, measuring tape, scissors, thread, 1/2" wide elastic, sewing machine

It's ridiculously easy and NO pattern is needed. First, you need a willing subject (or someone who has to be willing because you are THE MAMA!). Measure that subject's waist or hips (whichever is wider) and add about 4" for kids and 5" - 7" for adults. We'll call this number "A."
Cut fabric for the top tier 5" x A
Cut fabric for the second tier 5" x 1.5 times longer than first tier (multiply the measurement of the first tier by 1.5)
Cut fabric for the third tier 7" x 1.5 times longer than second tier (multiply the measurement of the second tier by 1.5)
For adults you'll probably want 5 or 6 tiers, so if you are making an skirt for an adult, just keep increasing the length of the additional tiers by 1.5. You may have to sew several strips together to get the required length. I didn't have to do this until the third tier on this skirt, but if I was making one for myself only the top tier would be made of a single strip of fabric.
After you have your tiers cut out, make an elastic casing in the first tier. Turn under the top of the first tier 1/4" to the fabric's wrong side and press. Then turn under another 3/4" and press. Sew very close to the edge of this fold the whole length of the fabric to make the "tube" for the elastic.
Then take the second tier and baste a wide stitch along whichever side will be the top. Then pull on one thread to gather it so that it is the same length as the bottom of tier one. Distribute the gathers as evenly as possible, pin the right sides together and sew the pieces together with a 1/2" seam.
Do the same thing for the rest of the tiers. NOTE: Before you gather and attach the bottom tier, hem it first. Do this by turning 1/4" to the wrong side (press) then turn another 1/4" under to the wrong side and sew close to the edge. You could also hem with bias tape or an overlock stitch, but whatever method you choose, do it before you gather and sew it.
After all your tiers are gathered and sewn together, sew the side seams with a 1/2" seam allowance. STOP and backstitch just before you get to the waistband casing.
Take 1/2" elastic and wrap it around your subject's waist and cut the length you need. Then feed the elastic through the casing and sew over it, closing the opening of the waistband and securing the elastic in place.
That's it! Easy peasy!
Here is the skirt on my subject. She liked it so much, she wanted to wear it UNDER her dress.

And 30 seconds after the above photo was taken, the skirt was placed here.
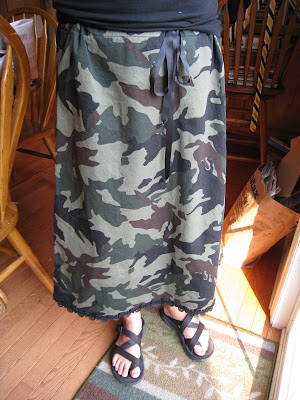


 It's ridiculously easy and NO pattern is needed. First, you need a willing subject (or someone who has to be willing because you are THE MAMA!). Measure that subject's waist or hips (whichever is wider) and add about 4" for kids and 5" - 7" for adults. We'll call this number "A."


